This is how i created a cartoon cow.
Process
Cow Head:
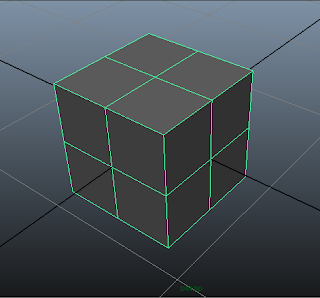 First, I start by creating a simple cube. From there, I will manipulate vertices and extrude untill it becomes rounded.
 Then, I used smooth on the cube.
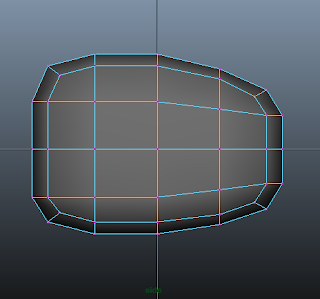 After smoothing, there are more vertices everywhere now. I scaled down the right vertices of the cube to form the peak of the mouth and moved up the bottom vertices of the cube to make up the flatter base of the mouth.
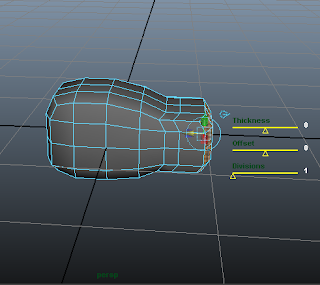 From the side that i scaled down, I extruded the faces twice. I moved out the faces as you can see. As you can see here, this creates sort of like a connector between the main head and the mouth. From here on, I go on to making the main head.
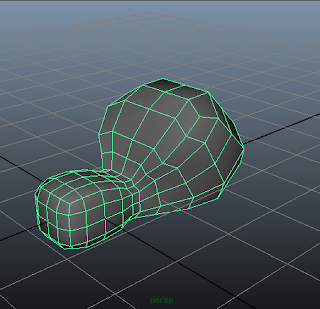 Then, I extruded 3 more times. I rotated and scaled those extruded faces to make the head more rounded as it looks like above.
 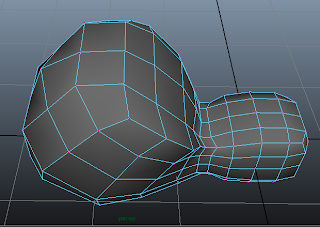 Then, I used vertice manipulation and moved vertices around to make the mesh more smooth and to make the head have less sharp edges. I also made the head more rounded than before and pulled out the vertex at the top of the head to make it not so flat an unnatural.
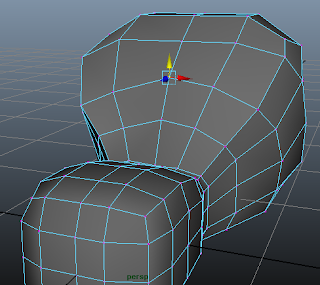 I then moved the vertices in the middle to get ready to model the eye of the cow. Thus, I moved up the middle vertices to make the mesh look more flowing and moved the 2 center edge loops closer to each other so that the eye wont be that wide.
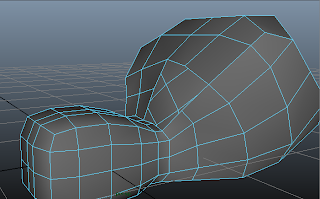 I then deleted the four faces needed to make an eye. Now there is a hole in the cow's head which will be modified to become more rounded and smaller to make a good looking eye.
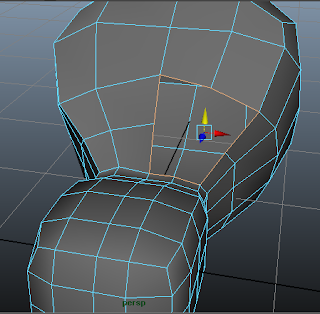 I used the edge border tool to select all the edges around the border of the hole and then extruded them inwards to make the eye hole smaller.
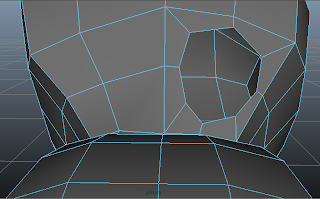 The eye hole is smaller now. I then rounded up the edges by dragging some vertices closer to the hole so that the eye wouldn't look that squarish and the corners of the eye wouldn't look that sharp and squarish.
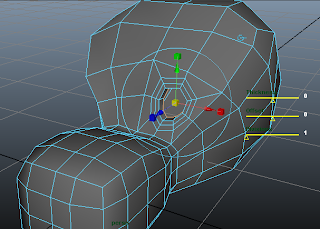 I extruded two more times to make the hole closer. Now it looks like a spider web. After that, I extruded yet again, but this time I moved the vertices inwards to make an eye socket. I then scaled in the eye socket to make it more realistic.
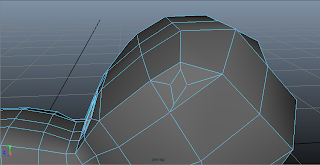 At the top right of the cow, there is a face which allows me to create a ear for the cow with it. Thus, i selected the edges on that face and extruded it inwards. I then moved the vertices around to make the ear a diamond shaped like face.
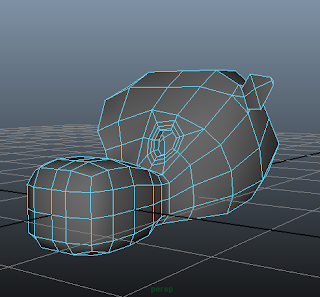 I then extruded the face I created and moved it out. Then, I scaled it to make it small at the ends of the ear and big in the middle. As you can see here, this is how I made the pointy corner of the ear, through another round of extrusion.
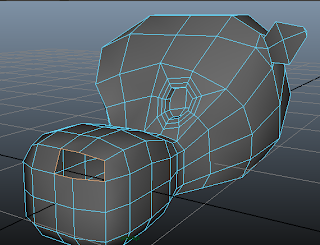 I then selected two faces in the front side of the cow and deleted in place of the nostril. I then used the edge border tool to select the border edges and to get ready to extrude them to make the nose.
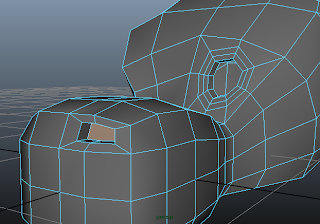 I extruded the edges inwards to make the nostril hole smaller. Then, i used fill hole to fill the holes of the nostril. However, it also filled the eye socket. Thus, I deleted the extra face in the eye socket and the moved in the new face in the nostril.
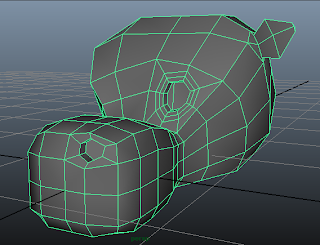 Then, I moved the vertices of the nostril around to make it more rounded and more realistic. As you can see here, this is the product of my vertex manipulation.
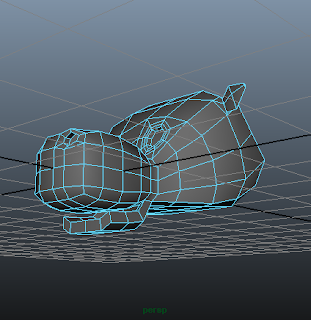 Now for the mouth. I extruded the bottom faces on the part of the head connecting the mouth to the head. I then rotated it to shape a mouth like structure. I repeated it twice to form a longer mouth.
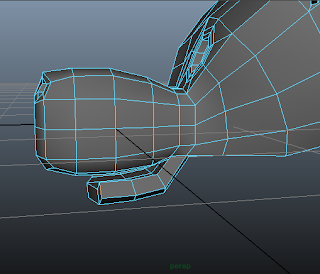 The front of the mouth looks too flat. Thus, I moved the middle vertices to the front by a bit and scaled inwards the edges on the sides to make a more rounded mouth.
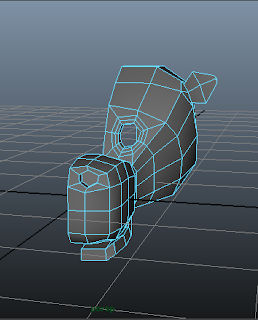 I used the sculpt geometry tool to make the model more rounded. I then deleted the unedited half of my cow head.
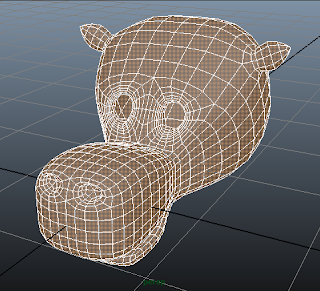 I then used Mirror Geometry tool to mirror the remaining half of the cow head and form into one complete cow head. Then, I smoothed it to see how it looked like. This is how it looks like after smoothing. This is the complete cow head.
Cow Body:
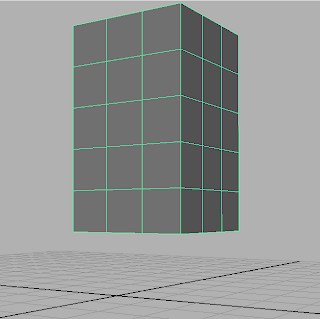 First, I created a rectangular cuboid with 3 x 3 x 5 dimensions. This is long enough for the cow body.
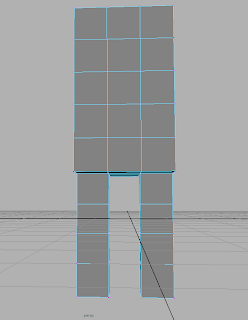 Next, i extruded out the sides of the bottom of the cow to create two legs, each of size 1 x 1 x 4. This will give me enough size for proportion and feet.
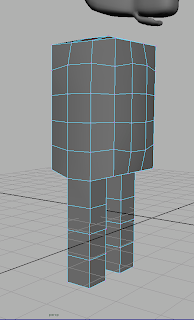 Next, I selected all the vertices surrounding the cow and then scaled them in to make the model look more rounded. I also added the cow head to refer to for proportion.
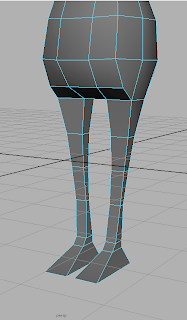 I then moved the vertices of the body, making a rounded belly, short from neck and getting wider till hips. I also made the cow have a spine by making the back of the cow curve in and making sort of a butt for it. Then, I started sculpting on the legs. At first, the legs were very thin, so I scaled them out to become this size. I also had to take into consideration leg proportion to the body and feet too. Thus, I extruded more vertices at the bottom to make the ankle of the legs and then extruded it again to make the foot.
 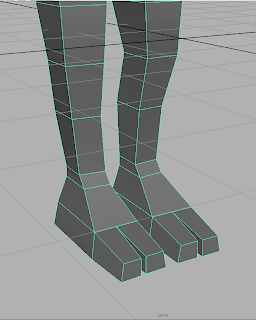 then, I decided to extrude yet another time, as the original feet of my cow was too small and flat. Thus, I split the bottom polygon into two parts, extruded one part at a time and then scaled them in to make them look like toes of a foot.
 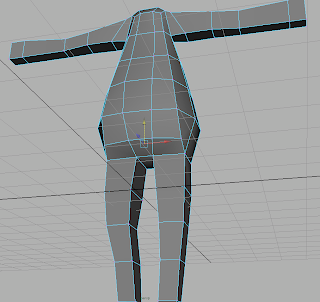 I then extruded arms from the top few faces at the side of my model. I extruded a few times, with more extrusions near to the joints of the cow's arms.
 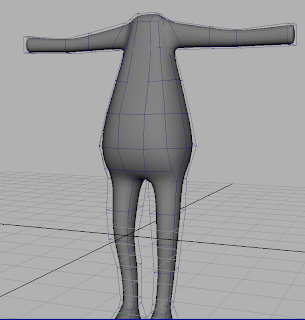 As you can see here, this is what my cow model looks like after smoothing. Now, I need to make a hand for the arms of the cow.
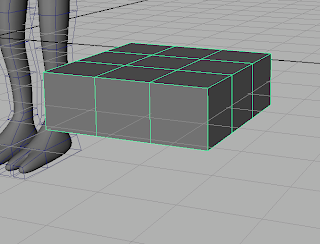 I created a new cuboid of size 3 x 3 x 1 to make a hand shape. This new polygon acts as the base for the hand.
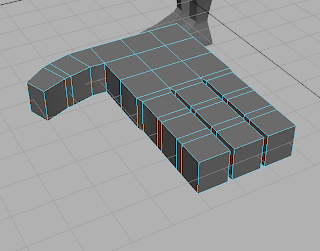 Then, I extruded fingers from the cuboid polygon. I made the thumb curve in as the thumbs of normal people are usually curved in. I also have extra extrusions at the joints of the hand.
 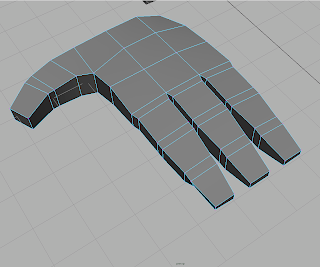 After that, I did some vertex manipulation and scaled the fingers in to make the fingers look more rounded and natural. I also made a sort of a palm shape.
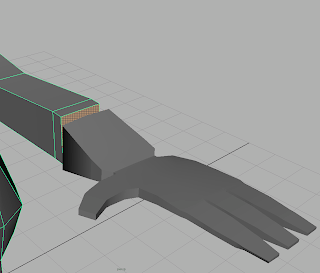 From here, you can see that the fingers on my cow's hand are too small. Thus, I had to scale it up in order for the hand to look realistic.
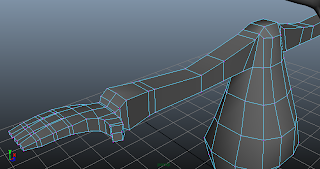 I then scaled up the hand. As you can see, it looks much better than before. Then, I joined together the vertices of the hands and the arms using the move tool and then merging them into one object by combining them. Then, I merged the vertices so that the mesh is connected. Then, I manipulated the vertices of the arms a little bit to make the elbow and the wrist of the arm more defined and proportional.
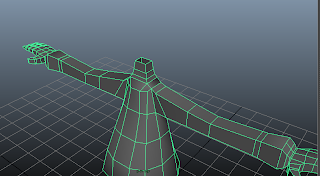 Then, I extruded a neck from the top face. This is to be used to merge with the cow head that I have done earlier. Thus, the body of the cow is done.
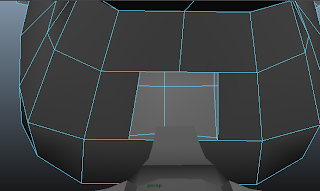 I then used the split polygon tool to create two new edges at the two middle faces. Then, I deleted off the face that is between the two new edges that I have created.
 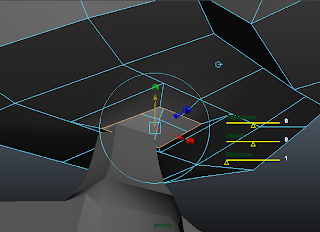 I then used the border edge tool to select the border edges and started to extrude the edges downwards to form a connector between the head and the neck.
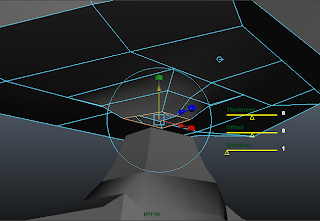 I extruded yet another time to make the neck more rounded and to make the merging of both the head and the neck more accurate.
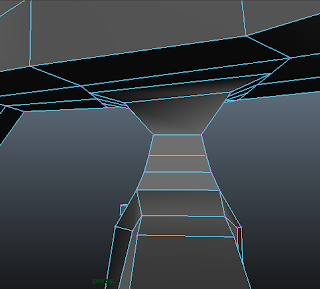 I then combined both meshes of the head and the body together to form one single mesh. Then, I used the move tool to connect the adjoining vertices together and then merge them.
 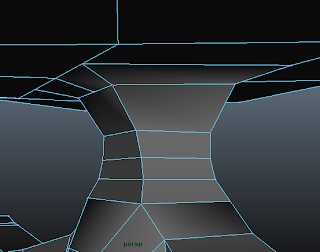 Then, I manipulated the vertices at the neck to give the neck a more rounded and spiny look. As you can see here, the neck is curved in both sides without much sharp corners. With that, the cow is complete.
This is the end result of my Cartoon Cow:


Learning Process
After learning the different techniques on how to model organic models, I feel more equipped in doing 3D work. The head was pretty simple, but the body was slightly harder, due to less guidance given. The head was just done with a step by step guide. However, when I finished my cow, I felt a great sense of satisfaction, due to having modeled an organic character for the first time.
Also, this exercise taught me a lot about modelling with character analogy in mind such as body proportion. All the information from the previous topic has been worth the time as it gave me more insight on how to model the cow properly so that it would look nicer.
Overall, I felt that I have learnt many things during this exercsie and hope that I can do some more stuff to this cow, such as give it poses or animate it.


 Jellal from Fairy Tail
 Ichigo from BLEACH


